Installing with Catalyst
Introduction
As BigCommerce developers, our main focus is on integrating the Makeswift editor with a BigCommerce storefront. The best way to do so is by installing Catalyst with its built-in Makeswift integration.
Using the BigCommerce control panel and Catalyst installer, you can have a fully functional storefront integrated with your BigCommerce catalog and the Makeswift editor in minutes.
One-Click Catalyst
A new Catalyst storefront channel is created in the store control panel’s Channels section, just like other channel types. This process, referred to as One-Click Catalyst, does more than simply creating a channel, including deploying a hosted preview of the storefront and provisioning a corresponding site Makeswift.
The One-Click Catalyst flow requires logging into the store’s control panel as a user with the following minimum permissions:
- Manage Channels
- Create Channels
- Edit Channels
- Install Applications
In the Channels section of the BigCommerce control panel, Create channel and then choose Catalyst as the channel type.
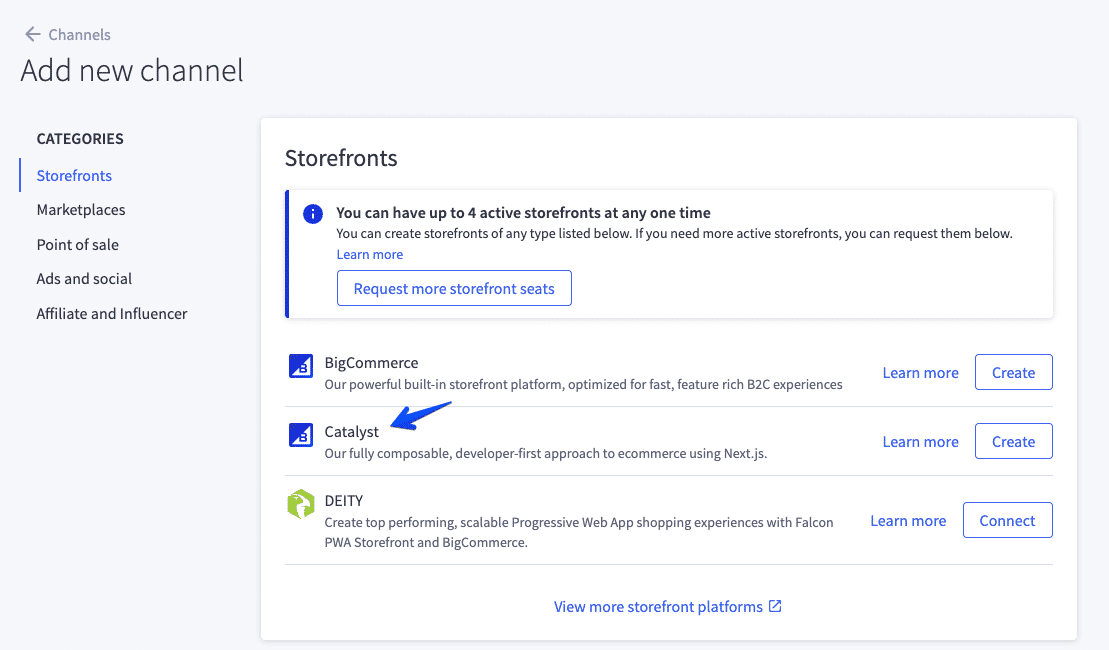
See Creating a Catalyst Storefront in the knowledge base for more details.
The Makeswift Site
One-Click Catalyst will provision and deploy a BigCommerce storefront channel and deploy a hosted preview storefront, as well as automatically creating and connect a Makeswift site. The Makeswift editor for your site can be accessed with the “Edit in Makeswift” action when viewing the storefront channel in Channel Manager.
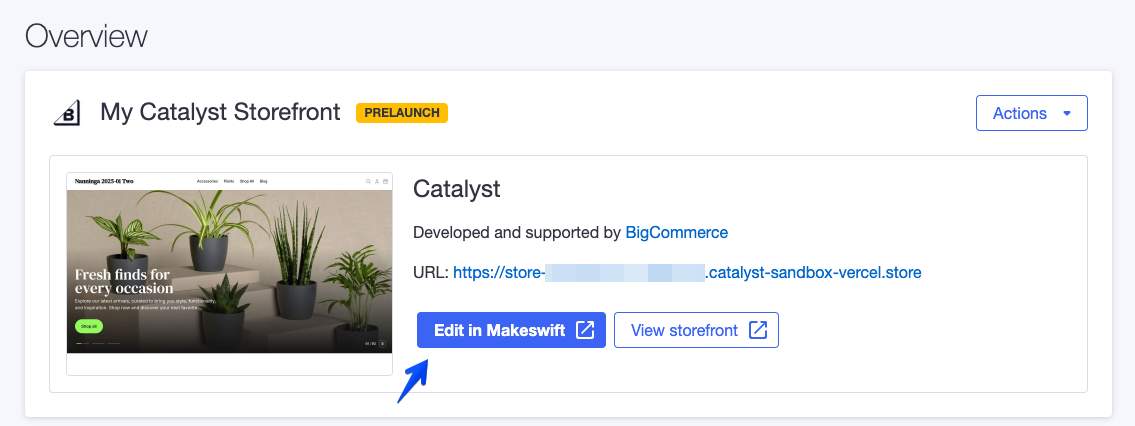
This action will use single sign-on to log into app.makeswift.com with the Makeswift account associated with your BigCommerce login.
Note that your Makeswift workspace will include two sites: The main site on your deployed “preview” URL, as well as a separate dev site configured to connect on the localhost URL of your local development server. When connecting a local Catalyst project via the CLI installer, it will automatically be connected to the dev site.
Switch between the main site and dev site within the Makeswift editor.
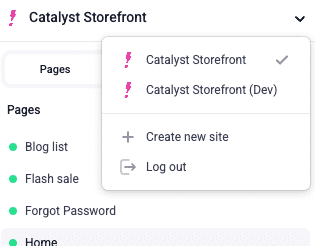
The dev site will be set up with the same starting content as the main site, but the two sites are otherwise decoupled. Content changes you make on the dev site within the Makeswift editor while testing your local build will not be reflected on the main site, and vice versa.
The Local Setup
Once you have a Catalyst storefront, the next step is to use the Catalyst CLI installer to set up your local project.
When you view a Catalyst channel in Channel Manager, the “Complete Setup” section will feature a “start development” tab with a CLI installer command.
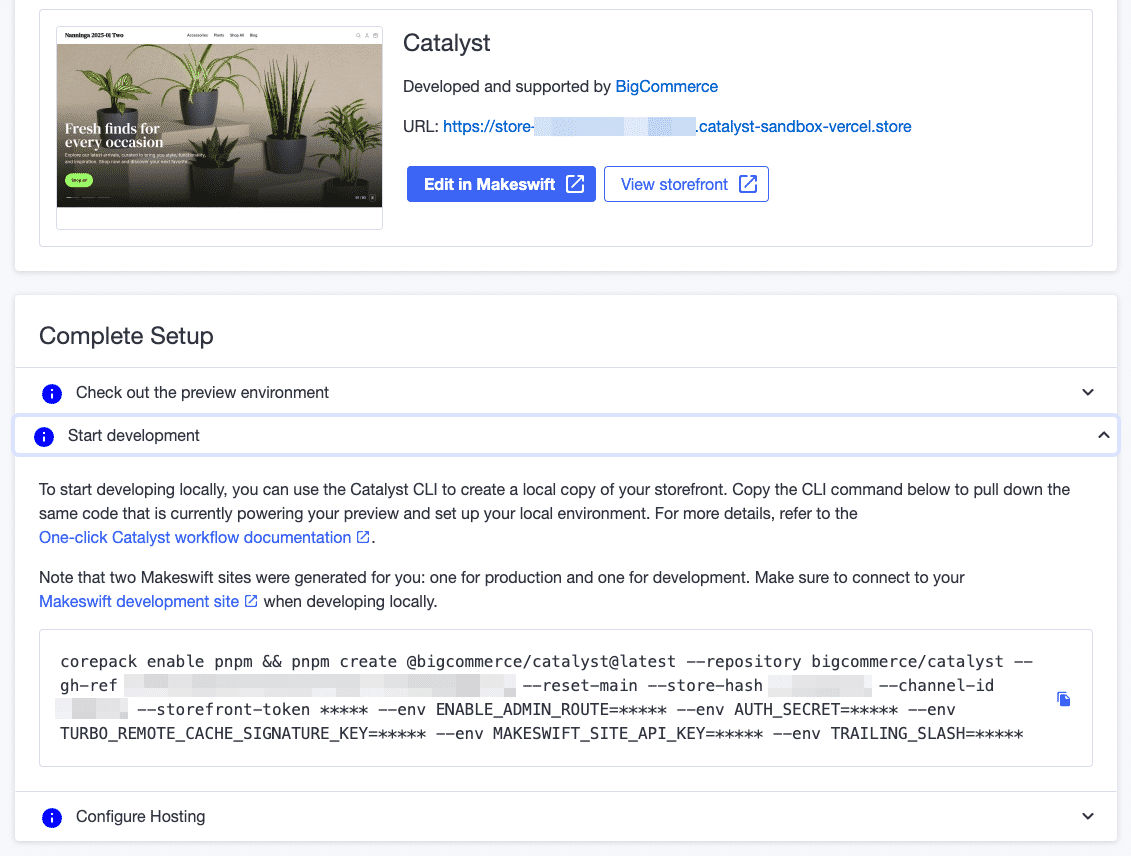
Run this command to install Catalyst locally and automatically connect your project to your storefront.
Alternatively, you can run the installer without automatic configuration options. Make sure to include a gh-ref to install the flavor of Catalyst with the built-in Makeswift integration:
The CLI installation process is interactive, prompting you with several options around connecting your BigCommerce store and channel.
The Makeswift API Key
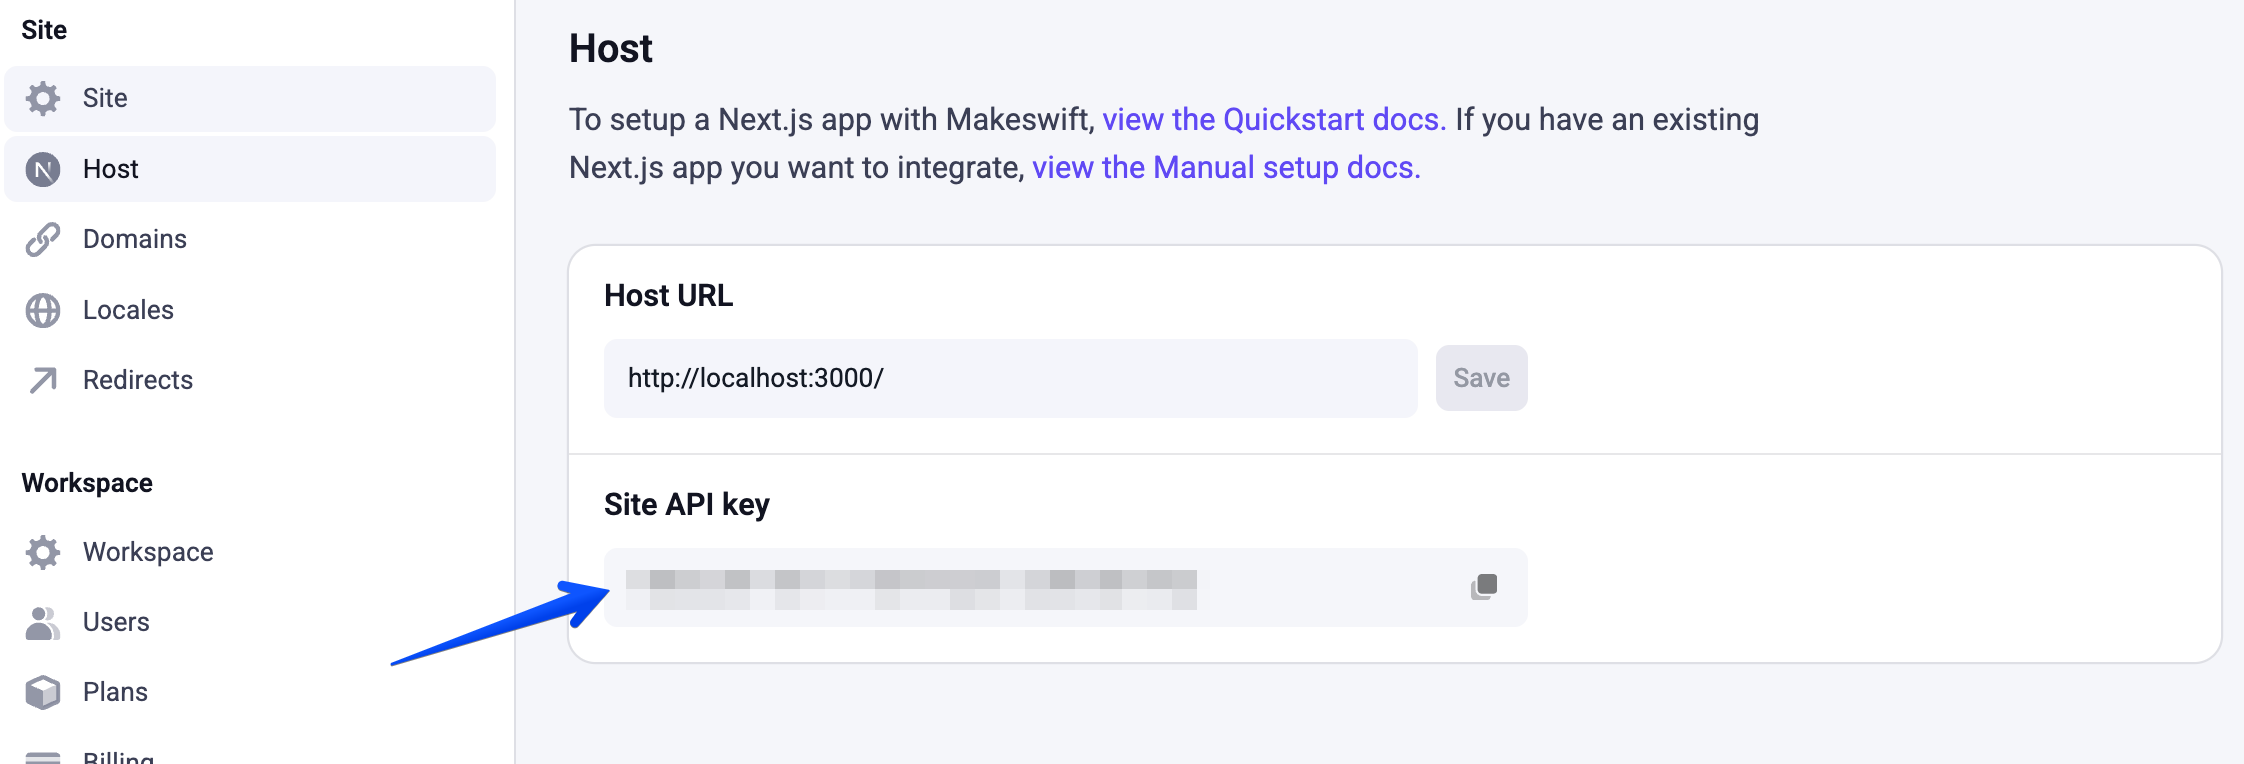
The CLI installer sets various config values in .env.local to connect the local project to the BigCommerce storefront channel. This configuration also includes a Makeswift API key, which is responsible for connecting the project to the right Makeswift site.
This will match the API key that can be found in the Makeswift editor for your dev site, in the Host tab of the site settings.
Local File Structure
Your Catalyst project is a clone of the Catalyst monorepo. All relevant code for the Catalyst storefront is contained in the core project directory.
In all subsequent sections, when referring to file paths, these will be relative to core.
See the Catalyst Core course for more details on Catalyst setup and the CLI installer.