Lab - Customize Layout and Pages
Lesson 7 of 16 · 30 min
In this lab, you will:
- Create a new layout and apply it to a page
- Make changes in a page file’s front matter and identify the results
You can apply custom layout files from templates/layouts to any page including the account portal, search results, and checkout. As long as there’s a file in templates/pages, you can give it a custom layout file from templates/layouts.
Prerequisites
- Previous labs have been completed
Step 1: Create New Layout and Apply it to a Page
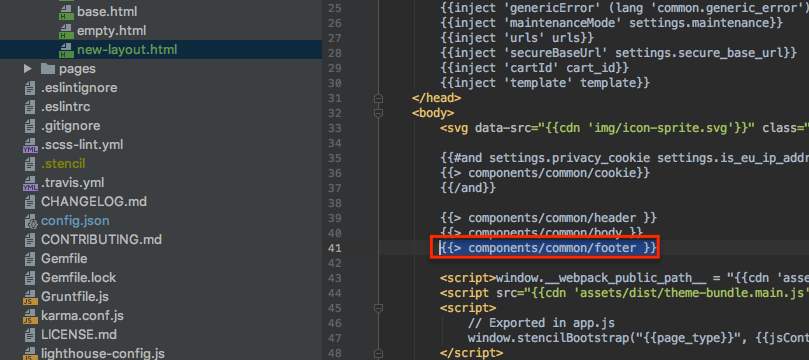
- Navigate to /templates/layout
- Open base.html
- Copy the contents of base.html
- Create a new file /templates/layout/new-layout.html
- Paste the previously copied code into the new file
- Remove the footer component in the newly created layout file
- Open/templates/pages/product.html
- Change the layout file that’s called at the bottom from ‘base’ to ‘new-layout’
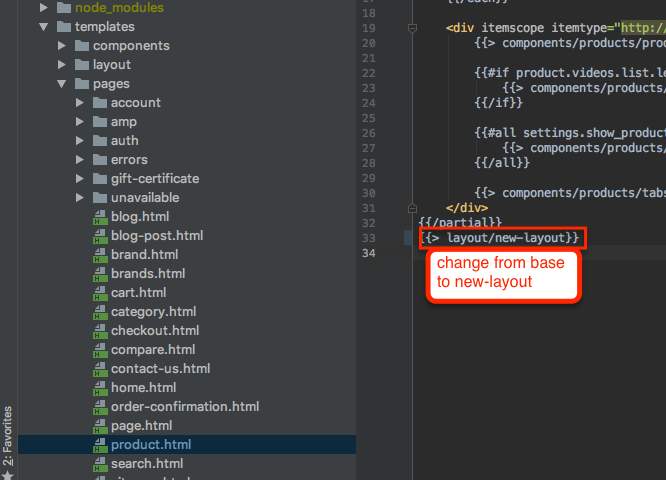
- View product page
- Observe footer no longer appears
Step 2: Make Changes in a Page File’s Front Matter and Identify the Results
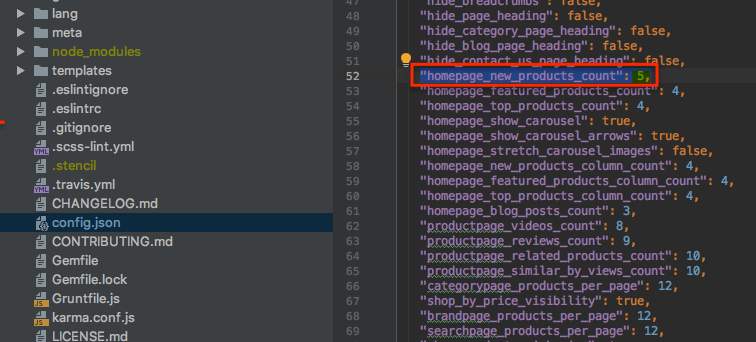
- Identify the default values in config.json for the homepage new products count key:
- Open your templates/pages/home.html file in your editor
- Note the reference to the homepage new products count key in the file’s front matter, between the two
---delimiters
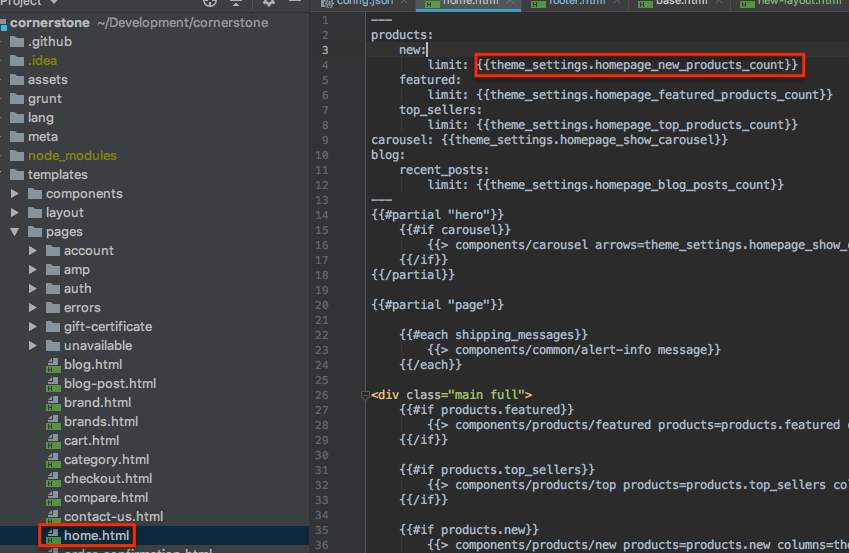
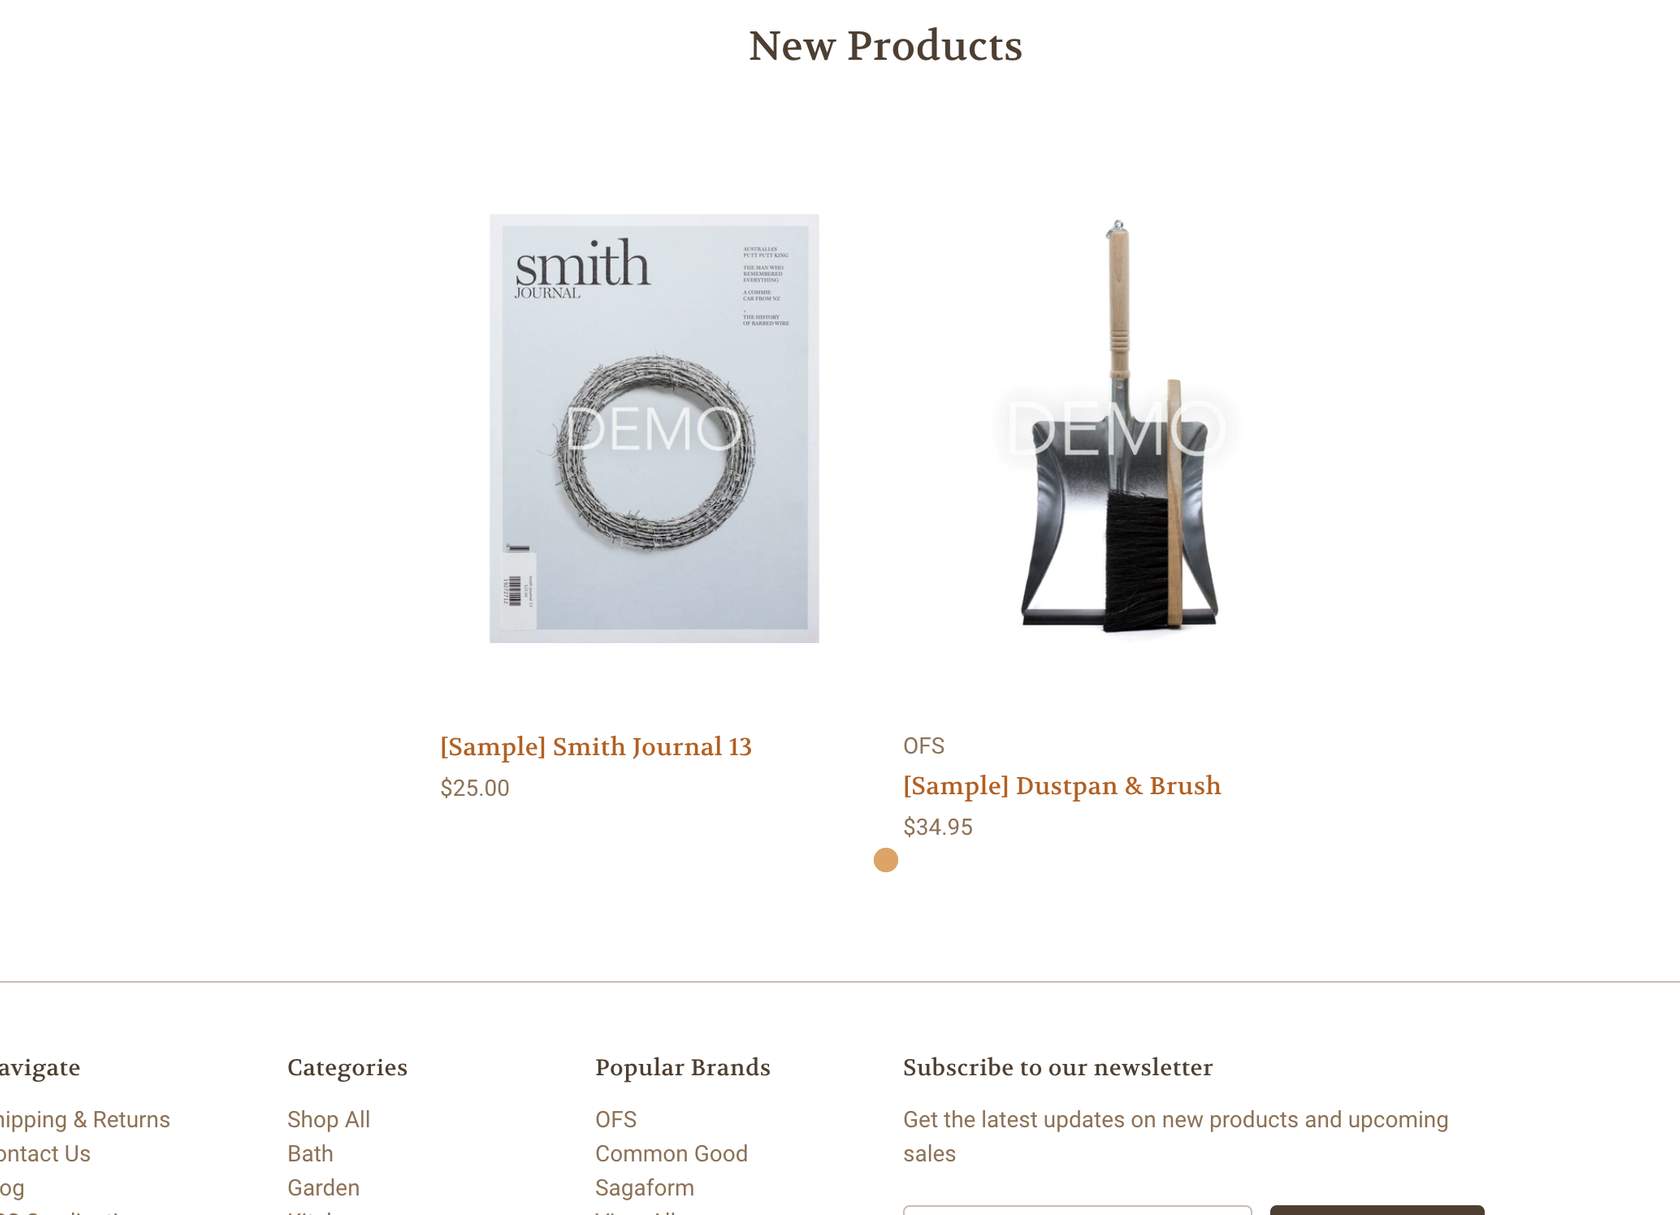
- Load your storefront’s homepage (by default,
http://localhost:3000)and you should see a “New Products” section that displays 5 products - Change the limit: {{theme settings homepage new products count}} statement to a hard-coded limit: 2
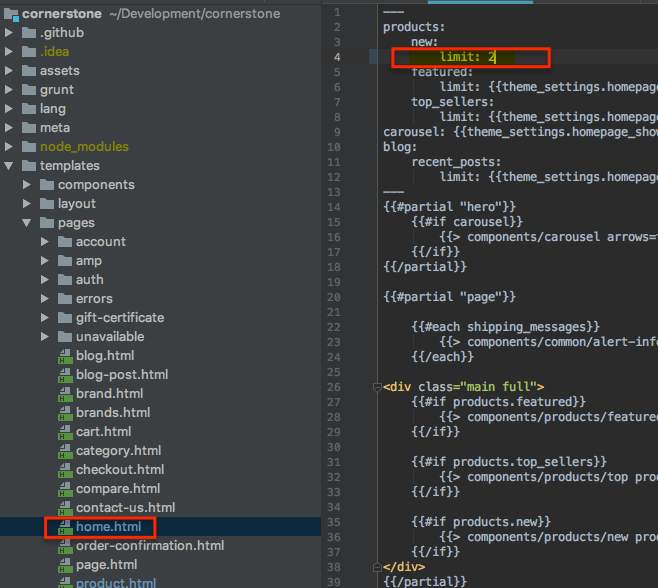
- Reload your storefront’s homepage in your browser, you should see the number of displayed “New Products” change from its default number (as specified in config.json) to two