One-Click Catalyst
Introduction
A new Catalyst storefront channel is created in the Channels section of the store control panel, just like other channel types. This process, referred to as One-Click Catalyst, does more than simply creating a channel, including deploying a hosted preview of the storefront and provisioning a corresponding site in the Makeswift visual editor.
This code-free starting point allows marketers and content authors to familiarize themselves with the features of Catalyst and the design capabilities of Makeswift without the involvement of a developer. Once you’re ready to get into the code, it’s easy to move into the typical developer flow by using the Catalyst CLI installer and connecting your local codebase to your storefront channel.
Creating a Catalyst Storefront
Creating a Catalyst storefront involves provisioning a new storefront channel and the use of the One-Click Catalyst app.
The One-Click Catalyst flow requires logging into the store’s control panel as a user with the following minimum permissions:
- Manage Channels
- Create Channels
- Edit Channels
- Install Applications
In the Channels section of the control panel, Create channel and then choose Catalyst as the channel type.
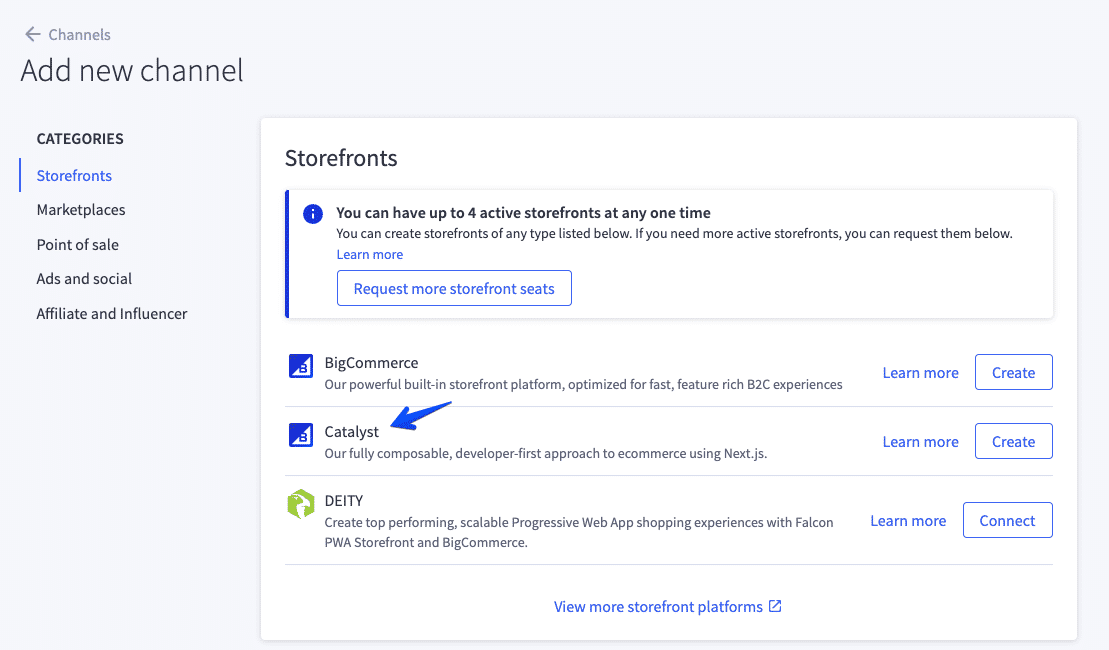
When creating a Catalyst channel, you’ll have the opportunity to choose whether to include sample data, as well as to specify the storefront’s supported language(s).
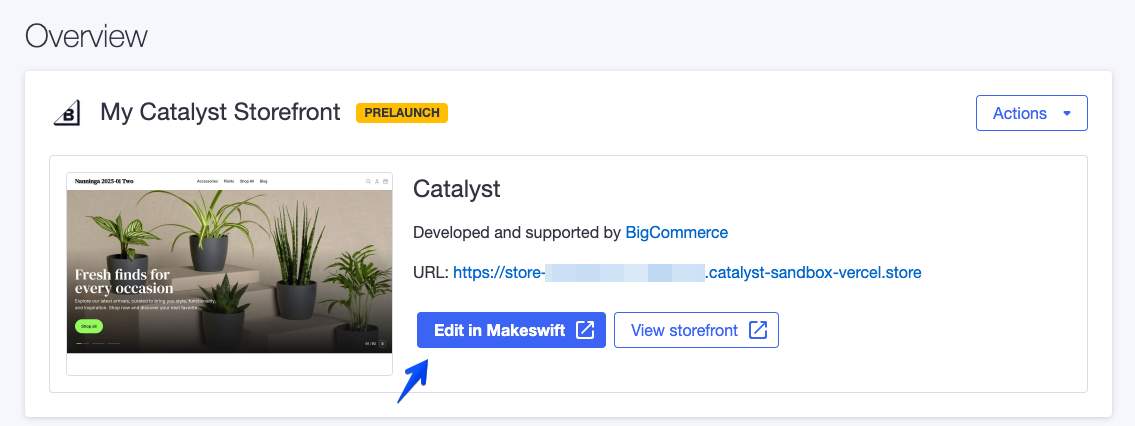
After you’ve selected your options and proceed to Create, the storefront will take a few minutes to deploy, after which you’ll be able to access the storefront via the newly created URL and use the “Edit in Makeswift” button to access the Makeswift visual editor.
Note that the version of Catalyst deployed to your preview environment will always be the latest stable release including the integration with Makeswift. As you’ll see when we discuss the CLI installer, this may differ from the version you install locally.
See Creating a Catalyst Storefront in the knowledge base for more details.
Sample Data
When you choose to install sample data for your new Catalyst storefront channel, this includes:
- BigCommerce sample products and categories
- Pre-built example content in Makeswift: A collection of pages with pre-configured content, as well as certain pre-built components
Site Routes
For headless storefront channels, Site Routes describe the destination URLs for specific page types on the storefront. Site Routes are used when BigCommerce is responsible for generating links, such as in transactional emails, or on an order confirmation page if Redirected Checkout is being used.
When a Catalyst storefront is created, appropriate Site Routes are created with the default Catalyst URL paths.
As an example, if any transactional emails generated by BigCommerce include a link to the storefront’s login page, by default this link will lead to the URL path /login.php (the login URL in Stencil). This is not an appropriate URL path for a Catalyst storefront. Therefore, when the storefront is provisioned, a Site Route will be created to ensure that such generated links will lead to the proper URL path /login/.
Moving to Development
When you view a Catalyst channel in Channel Manager (or Channels), the “Complete Setup” section will feature a “start development” tab with a CLI installer command.
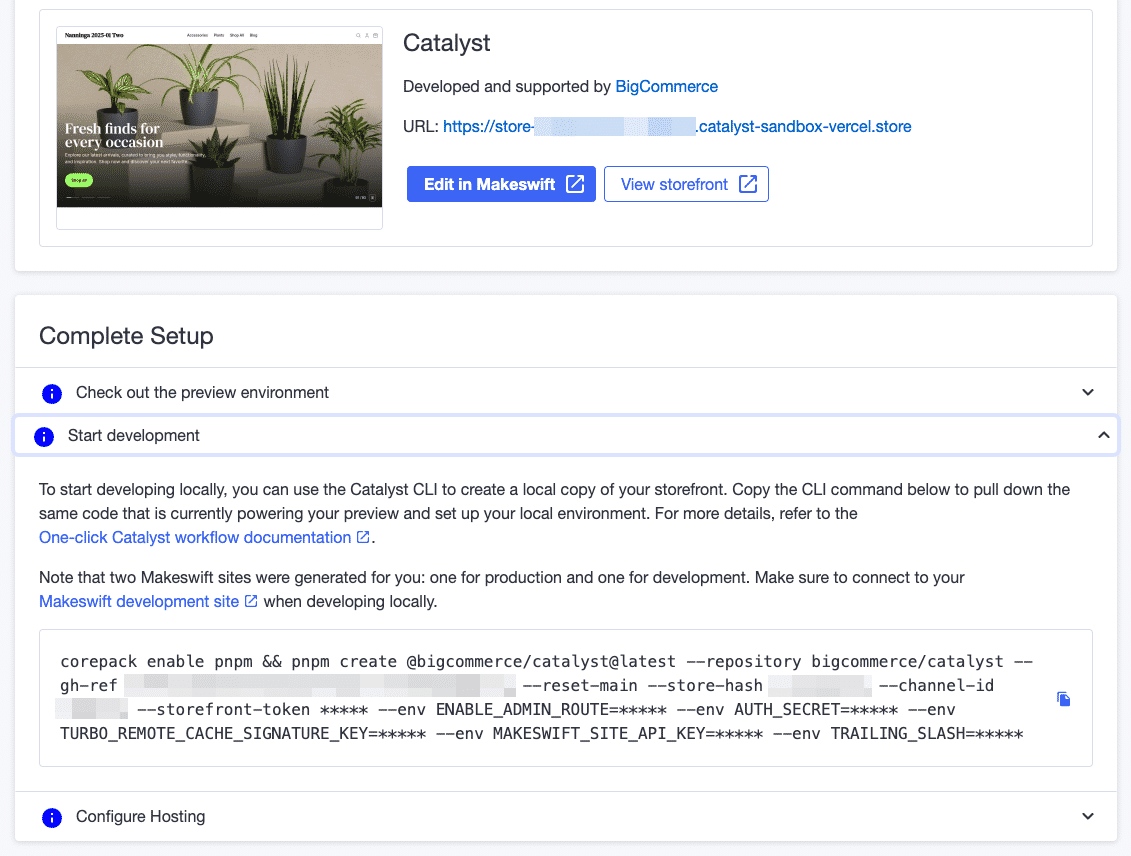
We’ll explore the details of the CLI installer next. This particular CLI command is preconfigured not only with the appropriate environment details to connect your storefront channel automatically, but also with a Git reference ensuring that your local project is installed with exactly the same code state that was deployed in the preview environment.
The Makeswift Editor
Just as One-Click Catalyst will provision and deploy a BigCommerce storefront channel, it will similarly automatically create and connect a Makeswift site. The Makeswift editor for your site can be accessed with the “Edit in Makeswift” action when viewing the storefront channel in Channel Manager (or Channels).
The Preview Environment
As noted above, provisioning a Catalyst storefront channel will include a fully functional preview deployment, with your storefront being accessible on a Vercel sandbox URL like store-*.catalyst-sandbox-vercel.store.
The sandbox domain convention also includes an appropriate checkout subdomain, meaning that Redirected Checkout on the same storefront channel is enabled automatically.
Only the default Catalyst codebase can be deployed to this hosted preview environment. Once you’ve started customizing your own Catalyst codebase, it is not possible to deploy your own code to this environment! Your own Catalyst project must be deployed to a compatible hosting provider.