Lab - Set Up a Catalyst Project
Introduction
Before proceeding with an exploration of the Catalyst architecture, you will walk through the steps to set up your own local Catalyst project, connected to your BigCommerce store. You’ll be able to use your local installation as a valuable point of reference as we examine Catalyst’s architecture.
In this lab, you will:
- Create a new Catalyst storefront and Makeswift site
- Install Catalyst and run a local dev server
Prerequisites
- A BigCommerce sandbox store or trial store, or a full production store, with an available storefront seat
- A control panel user with the following permissions: “Create Store-level API accounts,” “Install applications,” “Launch applications,” “Create Channels” (Learn about high-risk permissions)
- A command-line interface on your local machine
- Node.js 20 or later
- The pnpm package manager
- Git CLI
For following along in the code in future lessons, it’s also helpful to make sure you have a code editor, like VS Code, to open your Catalyst project once installed.
If you run into an error related to your maximum number of active storefronts during the Catalyst CLI installation, this means you do not have sufficient storefront seats.
In Channel Manager (or Channels) in your store control panel, you will need to either delete/deactivate a channel, “Add new” and confirm/update all requirements for multi-storefront if you haven’t previously done so, or else use a different sandbox store with an available seat.
Node Version Manager (nvm) is an alternative way to install Node.js and allows you to install and use different versions.
With nvm installed, you can install a specific version:
nvm install 22
… and switch to the Node.js runtime of any version you have installed:
nvm use 22
Whether you use nvm or install Node.js via another method, make sure you are running a compatible version:
node -v
Step 1: Create a Catalyst Storefront
- Log into your BigCommerce store control panel.
- Navigate to Channel Manager (or Channels) and Create channel.
- In the list of channel types, choose “Create” next to the “Catalyst” type.
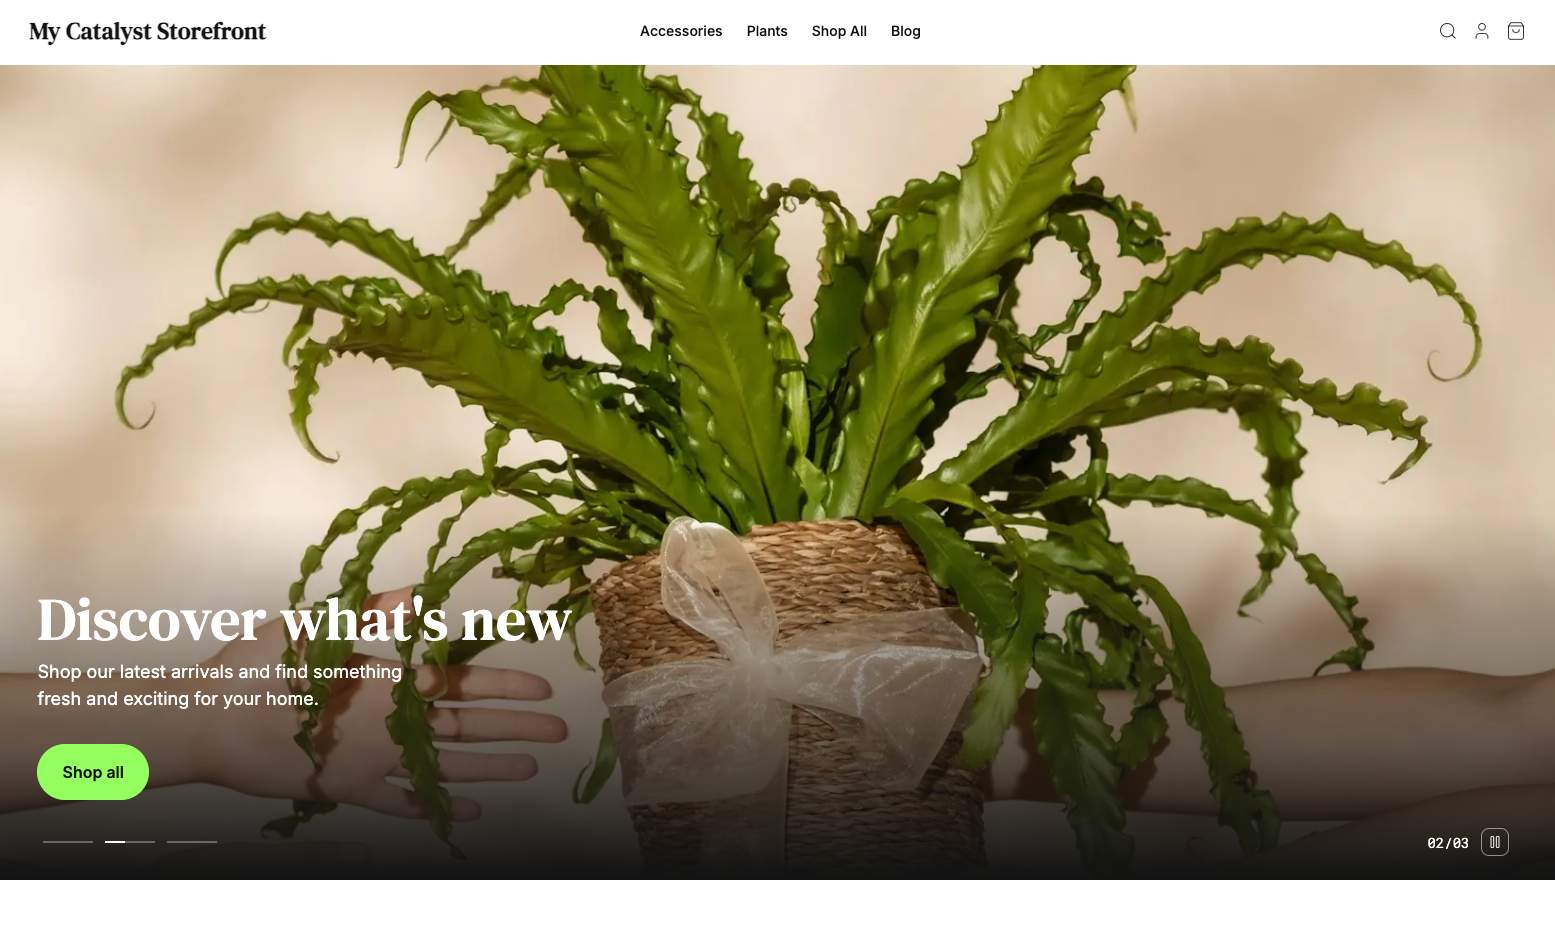
- Enter a storefront name, select “Use sample data,” and click “Create” to finalize the storefront.
Once the provisioning process is begun, you will need to wait for the initial deployment to complete.
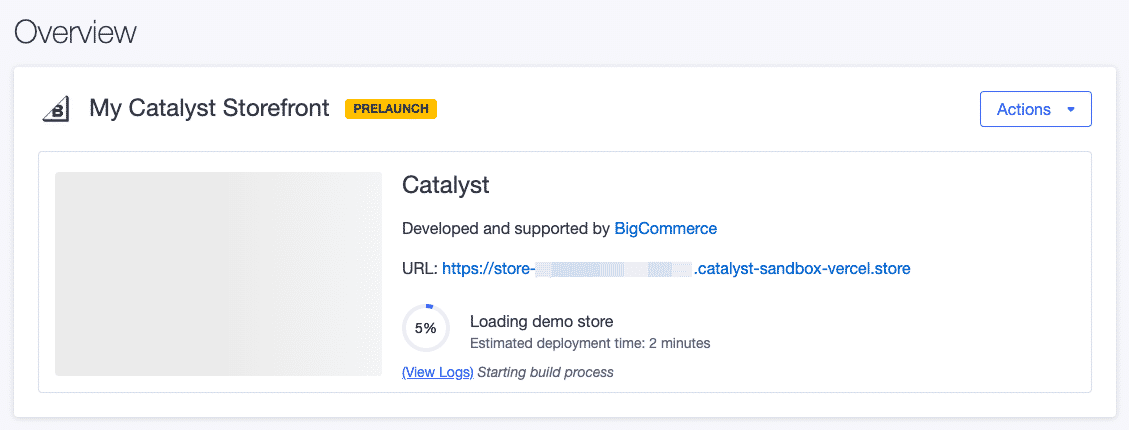
Proceed with the following steps after deployment is complete.
- Click the “View storefront” button to view your hosted preview storefront.
- Click the “Edit in Makeswift” button to launch the Makeswift editor and confirm that you are able to edit your pages.
Note that you can return to the storefront overview page at any time by navigating to Channel Manager (or Channels) in your control panel and clicking on the Catalyst storefront channel.
Step 2: Install the Catalyst Project
Rather than start your custom code from scratch, you’ll be starting from a Catalyst codebase that already has certain boilerplate in place, in preparation for subsequent labs.
Make sure to follow the instructions below to set up. Do not run the typical create @bigcommerce/catalyst command!
- Run the following command, replacing the path to the working directory with your own path.
Troubleshooting
The pnpm command is unrecognized.
In some environments where file permissions are highly restricted, you may need to prepend corepack to the use of pnpm commands (for example, corepack pnpm dlx create-next-app@latest ...)
Troubleshooting
I receive interactive prompts.
The standard interactive flow for creating a new Next.js app will be initiated if the -e option isn’t recognized to provision from an existing “example” project. A brand new Next.js project isn’t what we’re after, so try manually cloning the starting state of the project repo:
- Run the following commands.
You will eventually be presented with the BigCommerce device authorization URL - https://login.bigcommerce.com/device/connect - and a unique code.
- Press Enter or manually browse to the given URL and log into your BigCommerce account.
- If you have multiple stores associated with your account, choose the store you want to associate with your Catalyst project.
- Enter the code from your command line output, and click “Next.”
- Allow the required permissions.
With authorization completed, back at the command line, there will be new installation steps to complete.
- Respond to the prompt “Would you like to create a new channel?” with “No.”
- Select the storefront channel you previously created in the control panel.
The completion of the installation may take a few minutes. The installer will install the Catalyst code files into your local project, install all npm dependencies, and configure your store information and credentials.
Step 3: Run the Dev Server
- Navigate to the new project working directory.
- Run the dev server.
- Browse to the URL displayed in the command line output. (Usually
http://localhost:3000)
Provided that you chose to install sample data when creating your Catalyst storefront, you should see a fully populated storefront home page. Your local site should be nearly identical to your hosted preview environment, although as previously noted, there may be differences between the installed codebase and the deployed preview.
- If you are not still logged in the Makeswift editor, return to Channel Manager (or Channels) in your BigCommerce control panel, click on your storefront channel, and click “Edit in Makeswift.”
- In the Makeswift editor, use the site switcher in the upper left corner to switch to the “Dev” site (for example, “My Catalyst Storefront (Dev)”) and confirm that the
localhostsite successfully loads in the editor.
Troubleshooting
If you encounter an error while starting the dev server related to an issue finding a matching keyid, you may need to upgrade a pre-existing corepack version.
Step 4: Examine the Local Configuration
- Open the file
.env.localin your new project and observe the environment variables that have been created by the installer.
- Browse to the file
.catalystin your project and observe the variables created here.
Unlike the values in .env.local, the values in .catalyst are only used by the CLI installer, not by the storefront application itself, and so these values do not correspond to any environment configuration that must be set up in deployment environments.
- Browse to the
/adminpath on your local storefront to visit your BigCommerce control panel.
Step 5: Configure the New Channel
To make sure your Catalyst storefront is fully functional, you’ll need to take care of some minimal configuration on the new channel that was created by the Catalyst installer.
Configure Shipping and Payments
If you want to be able to complete checkout on your Catalyst storefront, you’ll need to make sure you have the appropriate minimal store configuration in place for shipping and payments.
This step is not channel-specific, so if you’ve previously configured shipping and payment options for your store, you won’t need to do any additional setup.
We won’t walk through the details of configuring your store settings, but make sure you have:
- A Shipping Zone that applies to any billing address you will use at checkout
- An enabled Shipping Method on the Shipping Zone
- An enabled test/sandbox Payment Method. (Check the “Enable test credit card payments” option in your Payments Methods settings for the simplest option.)
The Local Dev Server and Cache
At various points while working in your local project, you may need to restart your dev server or clear the Next.js or Turborepo caches. Below is an example set of steps to do all three.
- Stop the local dev server (CTRL-C at the command line).
- Clear the contents of the Next.js cache directory. This is located at
core/.next/cachein your project working directory. - Clear the contents of the Turborepo cache directory. This is located at
.turbo/cachein your project working directory. - Start the dev server again.
Make sure only to clear a given cache when necessary. It is generally not necessary to clear the Turborepo cache to make sure your storefront content is up to date.