Lab Activity: Create a Custom Template
Lesson 10 of 28 · 30 min
Objectives
- Create a custom template
- Upload a custom template
- Assign a custom template to a storefront page
Prerequisites
- CLI Installed
- Cornerstone theme cloned
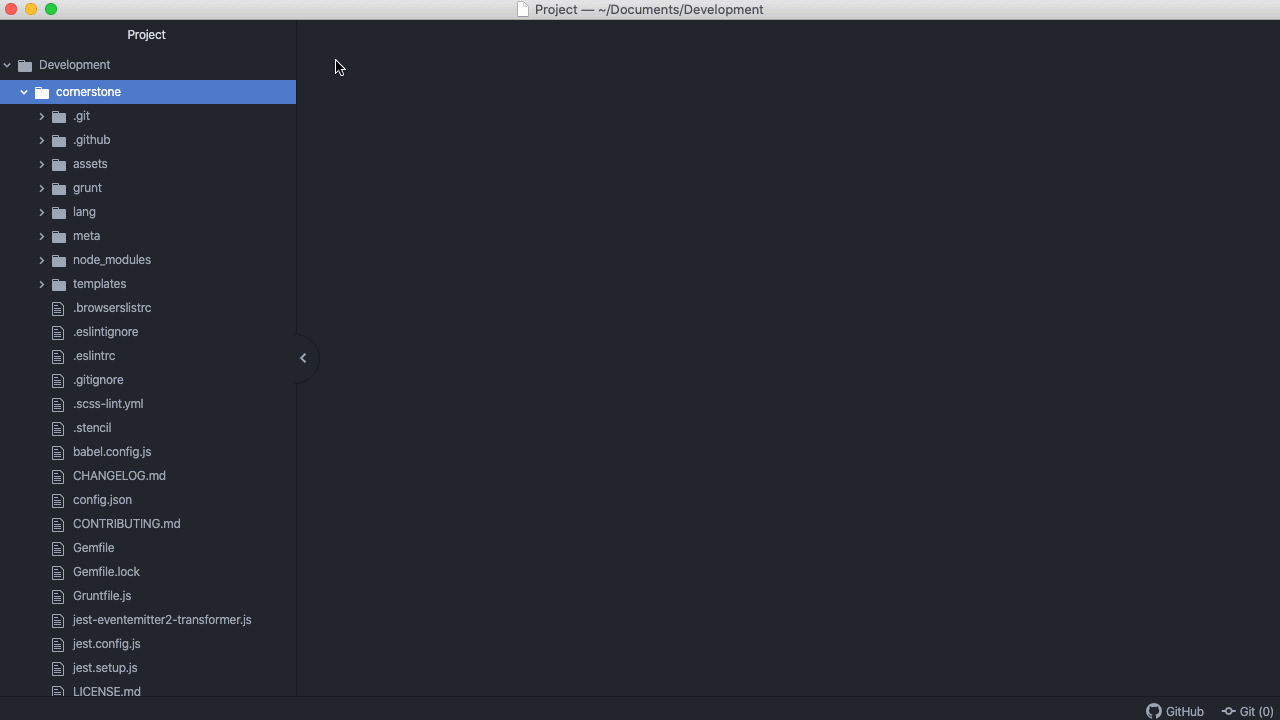
Create the custom Subdirectory in the templates/pages Directory
- Navigate to templates/pages within your cornerstone theme files
- Create a new folder under templates/pages called custom
- Create a new folder under_templates/pages/custom_called product
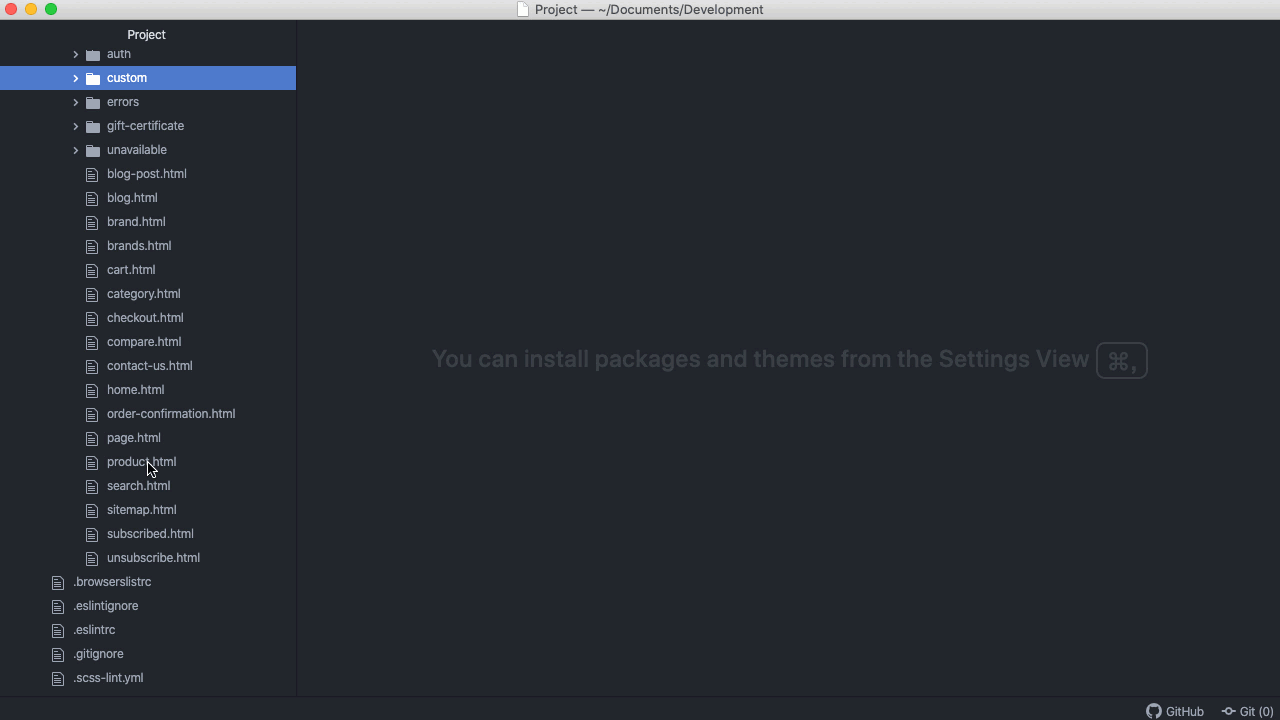
Create the Template HTML File
- Edit the product.html file
- Customize the file (for this example we are just adding text for demonstration)
- Save the modified html file as a new file named as an existing product URL in your store (for this example we are using custom-product.html)
- Ensure the new html file is saved to the templates/pages/custom/product directory
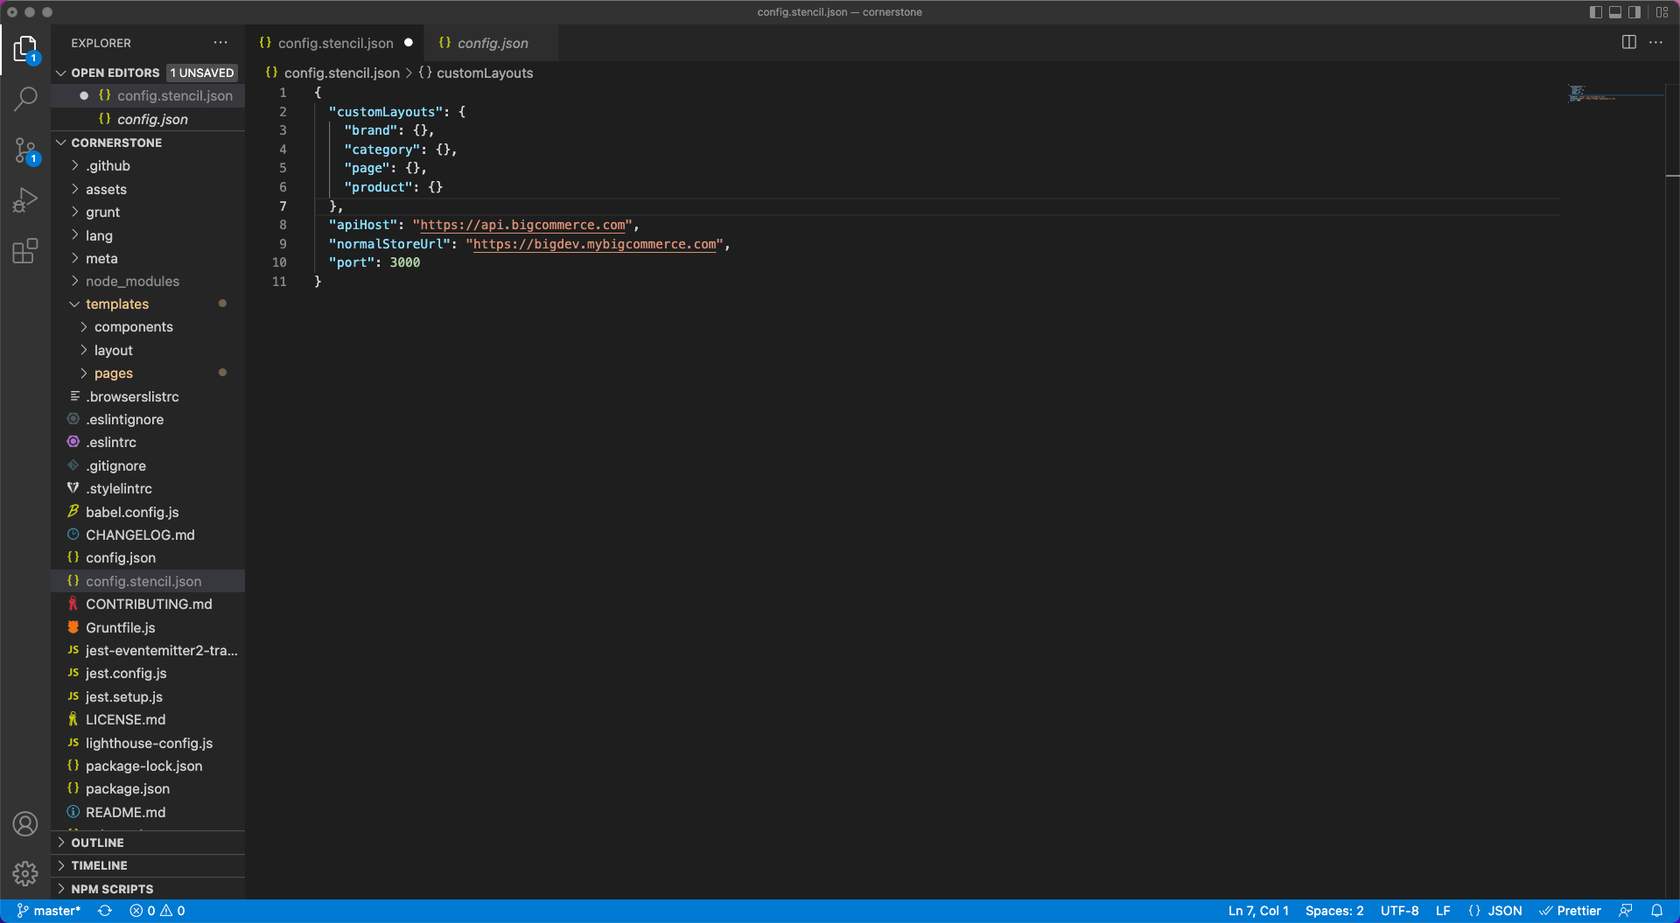
Map the Template to a URL in the config.stencil.json File
- Navigate to the config.stencil.json file
- Add the code below to the “customLayouts” section
- Enter stencil start on the command line
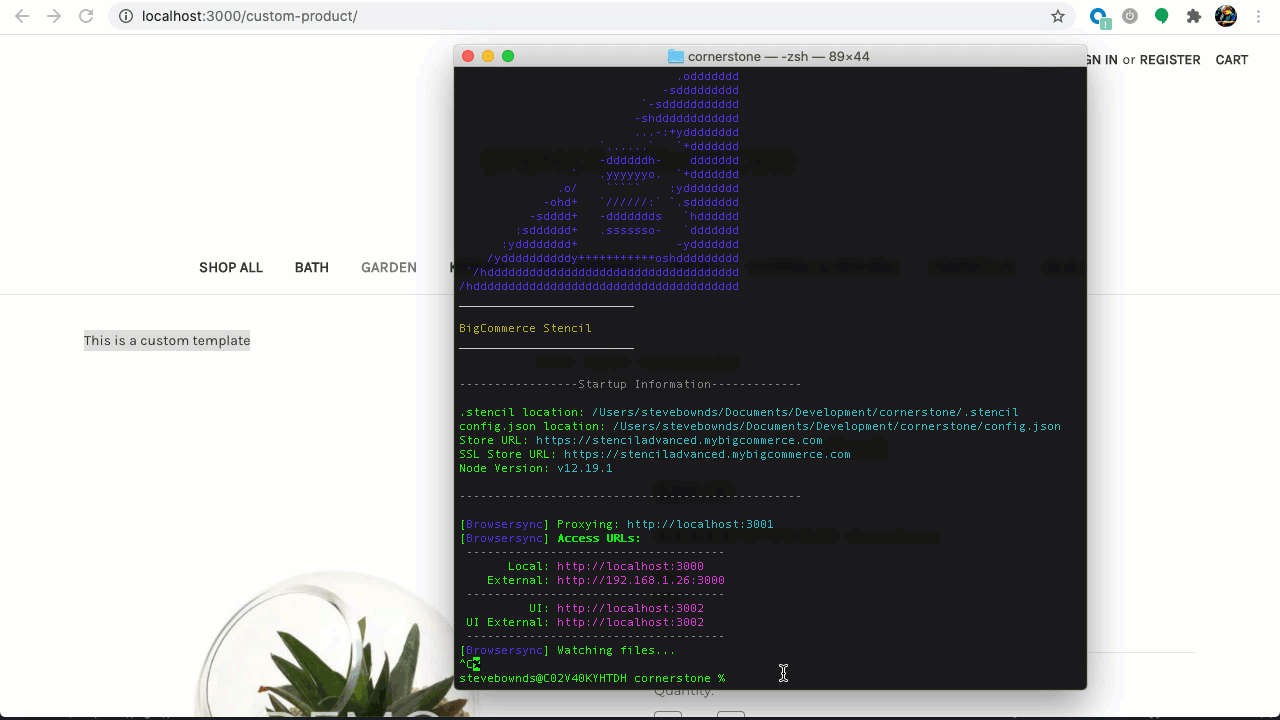
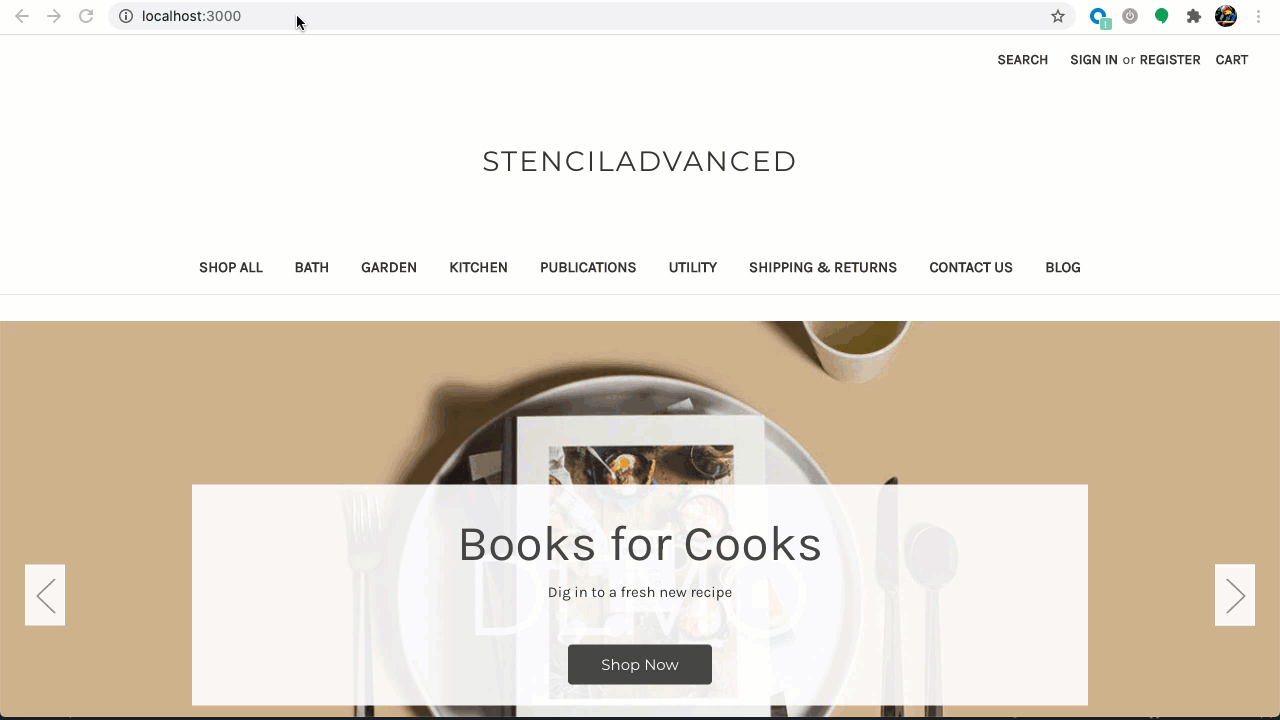
Test Your Custom Template Locally
- Navigate to http://localhost:3000/custom-product/
Apply Theme & Assign Custom Template
Bundle and Push the theme to your BigCommerce Store
*Alternatively you can use a stencil bundle to create a zip file to manually upload.
- Enter the following command in CLI: stencil push
- Enter y to apply the theme to your store
- Select the theme variation you would like to apply
Assign the custom template to the page
- Navigate to the store control panel
- Go to Products > View and edit the product that will use the custom template
- Click Storefront Settings
- Select the custom template from the Template Layout File dropdown
- Click Save
- View the product in the store