Lab - Add Dynamic Data
Introduction
In this exercise, we’ll expand the capabilities of our B2B mini-app by bringing the GraphQL API into the mix.
In this lab, you will:
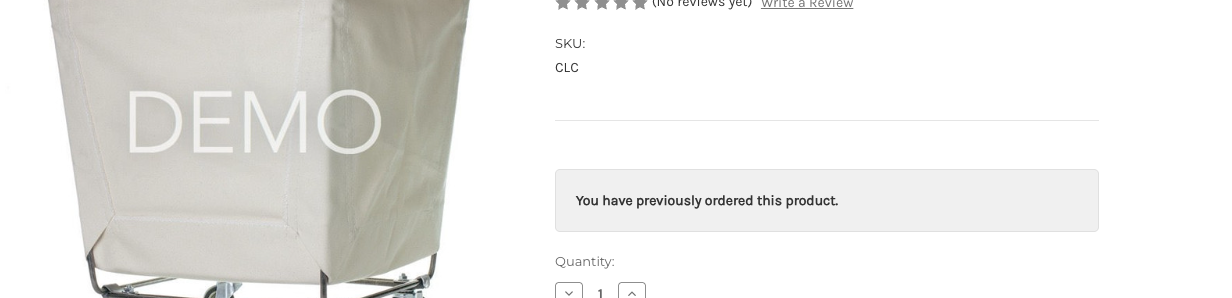
- Add a “Previously Ordered” call-out to product detail pages on your storefront
- Use the B2B GraphQL API to fetch details about previously ordered products for the current user’s company
- Retrieve the user’s storefront token from the Buyer Portal for the GraphQL request
Setup
This exercise continues where you left off previously. Make sure the dev server is started in your mini-app project:
If you need a fresh start, you can follow the instructions below to set up a new project complete with previous exercise code.
- Copy the project with the appropriate tag.
- Install dependencies.
- Run the dev server.
Remember!
Script Manager in your store control panel must contain the appropriate script to load the mini-app from your local environment on the appropriate port.
Revisit the initial setup lab for full details on setting up your environment.
Exercise Reference Copy
If it’s helpful to compare your own code as you go, you can clone or download the completed version of this labs as a reference.
Previously Ordered Lab Snapshot
Step 1: Inject the Previously Ordered Component
We’re injecting a brand new component in a new DOM location with this exercise, so it’s back to main.tsx to create the initial entry point.
- Open
main.tsxand add the component import and the basic component injection.
Remember that the DOM locations we’re injecting components into assume the BigCommerce default Cornerstone theme for Stencil. Revisit src/utils/dom/config.ts for the complete configuration of the previouslyOrdered component.
The default configuration is to inject the component as a sibling before the element matching the #add-to-cart-wrapper selector. This element will only occur on a product detail page, so the component will only be injected there.
Browse to a product detail page on your storefront. Once again, while nothing is currently rendered, you should see the error “Uncaught Error: PreviouslyOrdered component not implemented” in your browser developer tools console.
Step 2: Build Out the Component
- Open
src/components/PreviouslyOrdered/index.tsxand add an import ofgetPdpProductId.
This utility function is used to get the ID of the product currently being viewed, using inspection of an appropriate DOM element.
Since this depends on the DOM structure in our particular theme, the config for this selector is stored in src/utils/dom/config.ts, just like the configuration for component injection.
The element matching the selector .productView is expected to have a data-entity-id attribute that contains the product ID.
Remember that this configuration assumes the BigCommerce default Cornerstone theme for Stencil. Adjust config.ts if your theme is different. For our component to function, it must be possible to retrieve the product ID from somewhere in the DOM.
- Update
PreviouslyOrderedto use theuseB2Bhook and add a side effect to fetch the product ID.
- Add a React state value to track whether the product has been ordered. For now, set its value statically in the side effect.
- Add the JSX content, rendered conditionally based on
productIsOrdered.
Visit a product detail page again to see the simple component rendered. Since productIsOrdered isn’t set until b2b.utils is available, the message will be rendered once the Buyer Portal is initialized.
Step 3: Fetch Previously Ordered Products
The message is rendering on the PDP, but there’s currently a big issue: it renders on every PDP regardless of whether the message is accurate!
To determine whether the viewed product was recently ordered, we need to make a fetch with the B2B GraphQL API.
- Open
src/components/PreviouslyOrdered/index.tsx, add new imports, and add query-related definitions as shown.
OrderedProductsQuery contains the GraphQL query string. This rather simple request expects a $productId and uses the orderedProducts query.
The imports we’ve added to the component file bear some examination.
The GraphQL Client
In this exercise, we’re primarily concerned with the workflow of incorporating GraphQL queries into our custom application, not with the low-level details of making the actual HTTP request. The b2bFetch function is already included in the lab boilerplate.
b2bFetch is a fairly unremarkable abstraction layer. We’ll be making a couple of updates to this thin GraphQL client in the next step. Currently, the function:
- Expects a TypeScript type argument defining what the GraphQL response should look like.
- Makes a simple JavaScript
fetchtohttps://api-b2b.bigcommerce.com/graphql. - Includes the passed query and variables in the request body.
- Implements very simple error handling.
- Returns the response object.
Zod
The code we’ve just implemented makes use of the Zod library, which is included as an npm dependency in the lab boilerplate.
To tell TypeScript what our GraphQL response should look like, all we need is to define a simple interface. This allows the type checker to verify that our code is dealing with response data correctly, which is great, but this doesn’t actually do anything to verify that the response data matches the interface. If the interface is written incorrectly, or if the form of the response is unexpected, TypeScript will not complain.
zod is a TypeScript-first validation library that helps with exactly this scenario. The zod object defined in OrderedProductsResponseSchema is used not only to infer the right interface for TypeScript, but will also be used to validate the response data.
Make the Request
- Call
b2bFetchwithin the React side effect and setproductIsOrderedappropriately based on the response.
Note that the previous static setProductIsOrdered(true) has been removed.
On the product detail page, you may be able to pick your specific /graphql request out in the Network tab of your browser developer tools. Without a proper authentication token included in the request, however, you won’t yet be getting the desired result. You should see “Error fetching ordered products” in your browser console.
Step 4: Retrieve the Storefront Token
We’re successfully making a request to the B2B GraphQL API, but this request is currently failing due to a missing authentication token.
The Buyer Portal is already tracking a unique token for the current logged-in user. We just need to use our b2b utils to retrieve it.
For the final time, we’re making use of a new method of b2b.utils, so we need to update our interfaces accordingly.
- Open
src/hooks/useB2B.tsand updateB2BUser.
Our final change will be directly in the b2bFetch client function, where we can ensure that the current user’s token is included in any request.
- Open
src/b2bClient.tsand updateb2bFetch.
Nothing needs to change in the logic we’ve already built in the PreviouslyOrdered component.
With the user’s storefront token now included in the Authorization header of GraphQL requests, the feature is ready to try again.
Navigate between product detail pages for products the user’s company has and has not previously ordered to see the message in action.
Remember, you must actually be logged in as a company user to see the “previously ordered” message on any PDP!
Full Exercise Code
Taking It Further
Try applying the same techniques from this exercise to add information about products that have recently been included in requests for quotes, this time on a product listing page. See the docs in the B2B GraphQL playground and inspect the quotes query, including the arguments that can be used to filter on a date range.
In this case, to avoid making a separate GraphQL request for every product on the listing page, consider implementing a new React hook that will make the GraphQL fetch once when it is first invoked.